
Most of us do it on a daily basis. It’s basically become so second nature that we can talk on the phone, eat, drink and even drive whilst tying our shoes (not recommended). A lot of us have been doing it for so long that we don’t even think about it anymore – we just tie our shoes.
So, why start after purchasing a new pair of walking boots and navigating our way up mountains?
For one simple reason: when your feet start to hurt, the trip can get ugly very quickly.
Thus, we’ve put together a few tips and tricks as to how to avoid blisters and hot spots and provide some relief if and when it does come to that.
The right fit is key

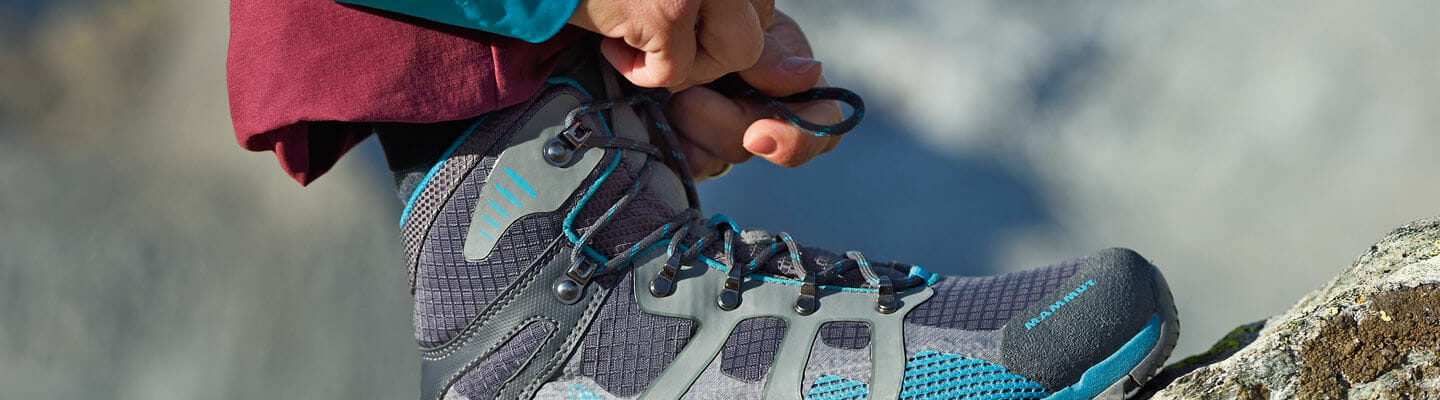
In the morning before heading out, there’s usually plenty of time to properly lace your shoes. After about 15-20 minutes, however, the shoe has begun to warm up and consequently to expand. Even though they may have felt very snug 30 minutes before, now the boots start to rub uncomfortably on a particular area.
Now you definitely need to take the time to lace your shoes again. And, don’t feel bad about making your walking buddies wait on you to do so. At least you won’t be ruining the entire hill walk for them later because of all the pain you’re in. Plus, your companions would probably benefit from some minor adjustments as well!
The tongue should be centred
You should always try to keep the tongue of the shoe centred because if it happens to move to the side, it can cause pressure points. So, if you give your tongue a little direction to begin with, it’ll happily do as it’s told.
If the tongue of your shoe is a little stubborn and unruly, you can lace your boots as seen in the photo. However, this method can lead to a loss of pressure in the shaft, which can be a little unpleasant as well.

Lacing lower around your ankle
Particularly when walking uphill, tying the knot a little further down can create more space for your feet to move.
For this, you can guide the laces over the top of the hooks, which will result in the knot being around 1-2cm lower. How much one or two centimetres really matter is unknown, but there are people who swear by this technique.
This will create more tension and the shoe will remain snug and won’t loosen up as quickly, which is certainly a good thing.
Two zone lacing

A lot of walking and mountaineering boots have locking hooks, making it possible to divide the lacing up into zones. Thus, you can lace the instep independently from the collar.
For ascents, it is recommended that you lace zone 1 a little more tightly for a secure fit and leave the upper section (zone 2) somewhat looser.
For descents, it is better to tighten up both areas so that your foot doesn’t slide forward.
The worrisome heel slippage
If your heel doesn’t sit securely in the boot, your heel will rub against the shoe. This will not only destroy your perfectly good socks, but it will also cause painful blisters. In order to prevent this (especially if your heel is particularly sensitive), there is the heel lock technique.


To do this, thread the laces directly through the hooks (without the crisscross pattern). Then guide each lace and loop it under the opposing side. Then pull the laces through until you feel your heel is secure.
Then continue as you would with the crisscross pattern.
More room at the instep
Sometimes you will feel pressure on your instep, which can be the result of a ganglion or an uneven instep (which most of us have). You can alleviate this pressure by freeing up some space at the instep.


To do this, just guide your laces through two eyelets on the same side where you feel the tension, but don’t cross them over. This way, you will alleviate the pressure at the instep.

Tightening without hooks
Most walking boots have hooks and thus two zones. But, there is a way to create more lacing zones.
To do this, when crossing your laces over, just cross them over one more time and then continue to thread them through. That way, there will be so much more tension that it is unlikely that the laces will loosen.
But, be careful: this will also create more pressure at the instep.
One more tip to prevent blisters

I have been told that if you tend to get blisters it can help to wear thin cotton socks underneath your hiking socks, in which case the socks will rub against each other instead of against your foot.
However, cotton socks absorb sweat and saturate quickly, which can in turn result in blisters. As an alternative, you could use a pair of nylon socks. Since I never get blisters, I have never had the pleasure of trying it, but other people swear by this technique. But, be careful: You don’t want your shoe to be too tight as a result.
Today, there are even sock brands out there that offer a two-layer design, such as Wrightsocks.
Some more fundamentals
Laces are dynamic, meaning they are flexible. This is crucial, as it allows the laces to adapt to the shoe and your foot. Plus, they have some “give”.
If you replace ordinary laces with rope laces, for example, the lacing will be much stiffer, which can create more tension. If you tend to get blisters and experience pressure points, this shouldn’t be your go-to solution.